Slack
Under the Slack tab, you can instead integrate Intros AI via Slack to automate introductions between members of your Slack community.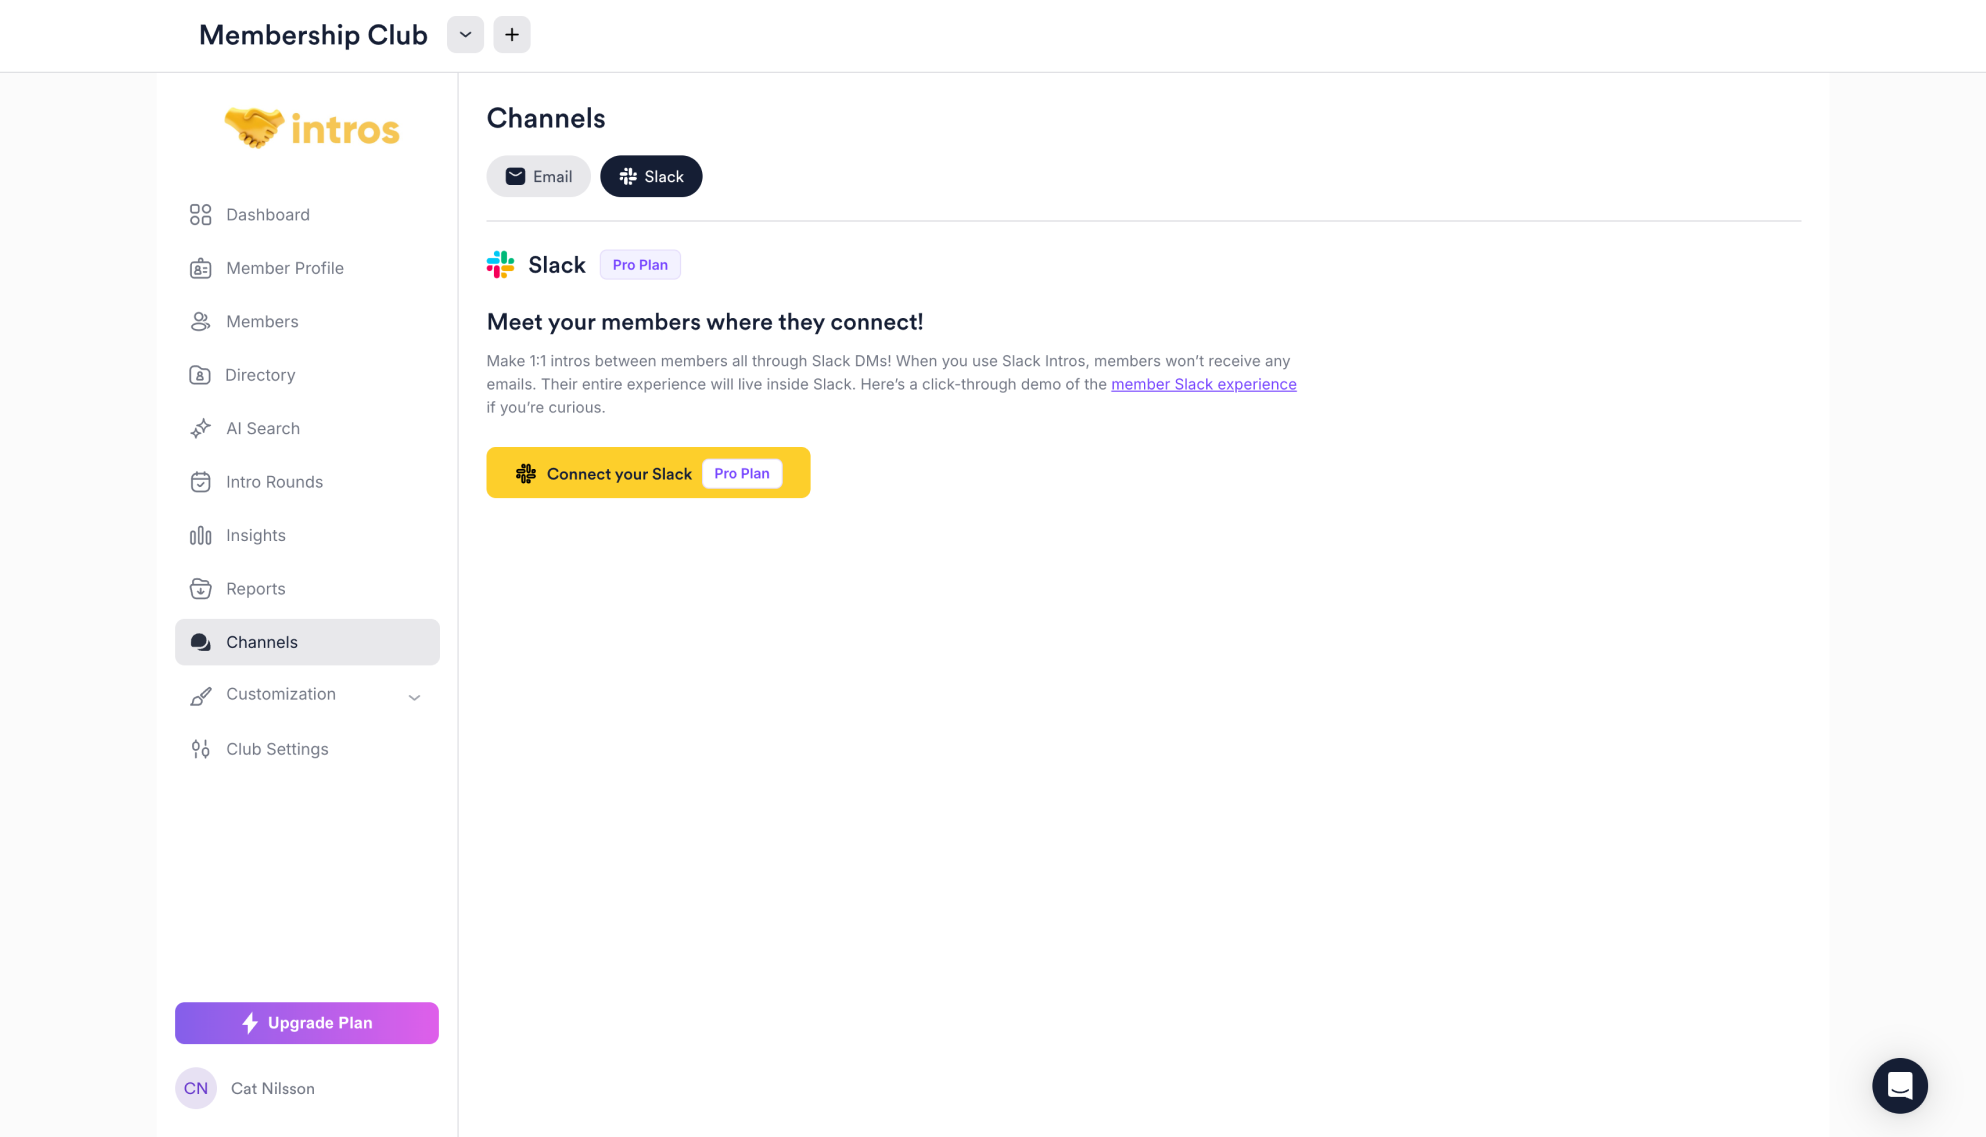
Add Members
Head to Members for detailed information on how to add members to your Slack community.
Note: After connecting your Slack account, members will automatically appear in the “Pending” section of the Members page. From there, you can directly invite them to join (step 5).We recommend having your members fill out their data using our native onboarding form rather than uploading a CSV. This helps avoid duplicate entries, since Slack requires email addresses to match exactly in order to sync properly. However, to avoid this, you can export a CSV directly from Slack (more information below).
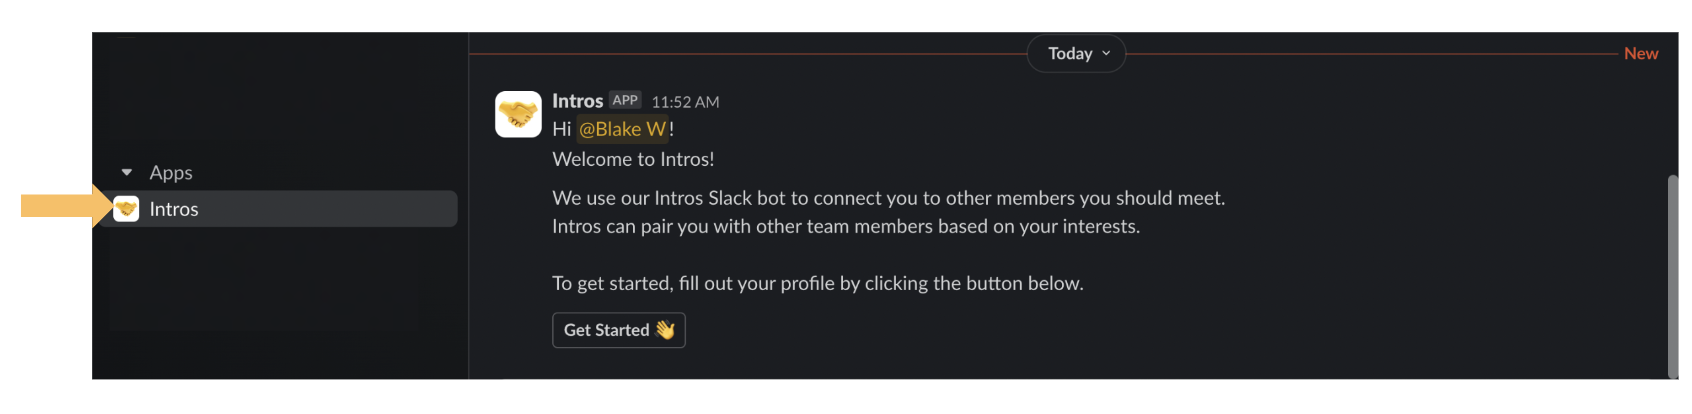
Send Welcome Message
This is how your members will receive the welcome message on Slack. It will automatically enter the name of the person receiving the message.

Slack Member Experience
Understand how members are onboarded with Slack step-by-step in this click-through demo below!Slack CSV Export
Workspace Owners and Admins can export data from public channels in their workspace using the steps below. If a Workspace Owner has been approved to export data from all channels and conversations, they can also use these steps to export data from public channels, private channels, and DMs.Channels FAQs
Emails
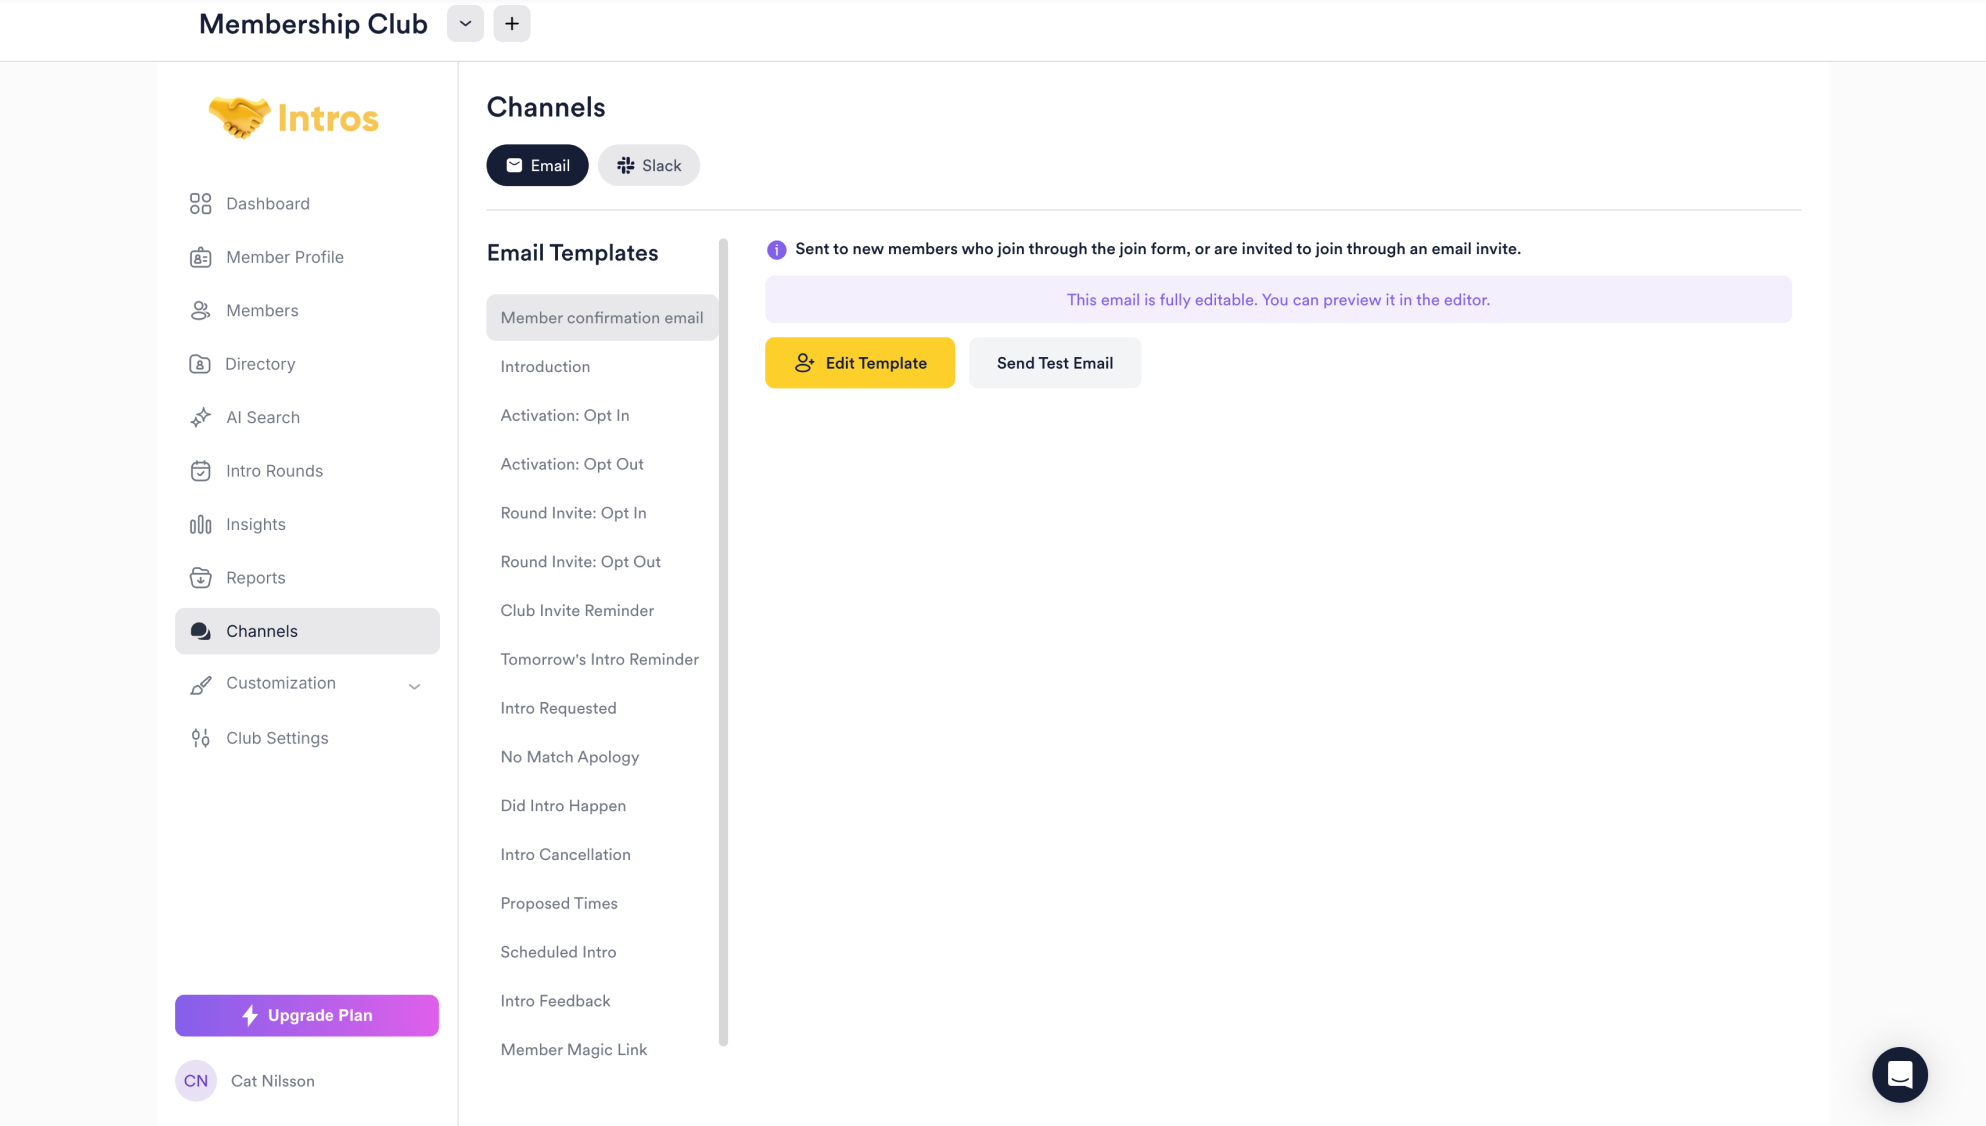
- Question: “Can we customize the opt-in and opt-out emails?”
- Answer: “Yes, you can customize all emails, including opt-in, opt-out, introduction, etc., in the ‘Channels’ section under ‘Email’.”
- Question: “Can we have an onboarding email sent when someone signs up?”
- Answer: “Yes, you can go to the ‘Channels’ tab and under ‘Member Confirmation Email,’ you can click on ‘Edit Template’, where you will see the onboarding email that’s sent to new members who join through the Onboarding Form or are invited over email - this is fully customizable as well, so feel free to take it in any direction.”
Platform Integration with Zapier
- Question: “How do I integrate Zapier?”
- Answer: “Please navigate to Members and under ‘Adding Members through Zapier,’ you will find detailed instructions on integrating Zapier. You’ll need to create a Zap, set up the Trigger and Action, and then test and activate it.”
- Question: “When adding a member through Zapier, are they automatically activated on the platform, or do we need to manually activate them in Intros AI?”
- Answer: “In Intros AI, you can configure Club Settings to automatically activate newly added members from Zapier.”
- Question: “Is it possible to upload an image during the ‘Create Member’ step in Zapier? I don’t see a field for it in the Intros AI ‘Create Member’ action.”
- Answer: “Currently, there’s no option to upload images directly to Intros AI via Zapier. You can include an image URL, but it will display as a link rather than an actual image. Members will need to log into the platform to manually upload their headshots.”
- Question: “What happens if my Zap fails?”
- Answer: “If a Zap fails in Zapier, you can try these steps:
- Use the Troubleshoot tab: In the Zap editor, click the Zap runs icon, then click the arrow next to the errored Zap run. Click ‘Go to step,’ then click the Troubleshoot tab. Zapier will use AI to provide troubleshooting instructions.
- Check the trigger app account connection: In the Zap editor, click the Trigger step, then click the Account tab. Ensure the correct app account is connected to Zapier. If the connection has expired, reconnect the app account.
- Check the trigger options: In the Trigger tab, make sure all required fields are filled out. Some triggers require items to be created recently in the trigger app.
- Replay the Zap run: In the Zap editor, click the Zap runs icon, then select one or more Zap runs. Click ‘Replay X runs,’ then select ‘Errored steps.’ A dialog box will appear, and you can click ‘Replay errored steps.’”
- Answer: “If a Zap fails in Zapier, you can try these steps: